
Over the past few weeks, I have written a lot about CMake. If you have not already got a chance to go through them here are the links:
- CMake Vs Make
- How CMake took the world by storm
- Modern CMake Tips and Tricks
- Cross-compilation with CMake
- CMake Generators
Continuing our exploration on CMake this week we have a blog post that is deeply technical and quite hands-on with an actual project where CMake will be used. I will use OpenCV to get the CMake logo displayed. This is going to be fun, so let’s begin.
So… Where Are We?
We are in 2021 and the C++ world is already preparing to move to C++20. Modern CMake is well established and getting OpenCV on windows should be just a matter of some vcpkg commands. Since vcpkg always compiles everything from source you will not face any compatibility issues unlike setting up from an installer.
First setup vcpkg using the excellent installation instructions given here. During the compilation of OpenCV the following packages will be built and installed:
- libjpeg-turbo[core]:x86-windows -> 2.0.5
- liblzma[core]:x86-windows -> 5.2.5#2
- libpng[core]:x86-windows -> 1.6.37#13
- libwebp[core,nearlossless,simd,unicode]:x86-windows -> 1.1.0#1
- opencv[core,dnn,jpeg,opengl,png,tiff,webp]:x86-windows -> 4.3.0
- opencv4[core,dnn,jpeg,opengl,png,tiff,webp]:x86-windows -> 4.3.0#4
- opengl[core]:x86-windows -> 0.0#8
- protobuf[core]:x86-windows -> 3.14.0
- tiff[core]:x86-windows -> 4.1.0
- zlib[core]:x86-windows -> 1.2.11#9
Compiling opencv using vcpkg will take some time as all the above dependencies will also be compiled from source. Be patient during opencv compilation as there are ten steps involved:
- Starting package 1/10: libjpeg-turbo:x86-windows
- Starting package 2/10: liblzma:x86-windows
- Starting package 3/10: zlib:x86-windows
- Starting package 4/10: libpng:x86-windows
- Starting package 5/10: libwebp:x86-windows
- Starting package 6/10: opengl:x86-windows
- Starting package 7/10: protobuf:x86-windows
- Starting package 8/10: tiff:x86-windows
- Starting package 9/10: opencv4:x86-windows
- Starting package 10/10: opencv:x86-windows
Once the OpenCV compilation is done using vcpkg, you will find OpenCVConfig.cmake at <relative directory>\vcpkg\installed\x86-windows\share\opencv\OpenCVConfig.cmake. This file contains OpenCV CMake options to be used from an external project. Let us take the clue from start of this OpenCV CMake configuration file and build a CMakeLists.txt file:
cmake_minimum_required (VERSION 3.8)
project ("CMakeTriangles")set (CMAKE_TOOLCHAIN_FILE "D:/Tools/vcpkg/scripts/buildsystems/vcpkg.cmake")set (OpenCV_DIR"D:/Tools/vcpkg/installed/x86-windows/share/opencv")
find_package(OpenCV REQUIRED)
# Add source to this project's executable.add_executable (CMakeTriangles "CMakeTriangles.cpp")target_link_libraries (CMakeTriangles ${OpenCV_LIBS})# TODO: Add tests and install targets if needed.
It is definitely not advisable to have hardcoded paths in a CMakeLists.txt file, but we will tend to that in a moment. Let us now see how to make the CMake logo using OpenCV. Here is the code for CMakeTriangles.cpp
#include <opencv2/core/core.hpp>#include <opencv2/highgui/highgui.hpp>#include <opencv2/imgproc.hpp>#include <iostream>
using namespace cv;using namespace std;
int main(){ Mat image = Mat::zeros(400, 600, CV_8UC3); image.setTo(Scalar(255, 255, 255)); fillConvexPoly(image, vector<Point>{ Point(200, 300), Point(400, 300), Point(300, 50) }, Scalar(128, 128, 128)); fillConvexPoly(image, vector<Point>{ Point(200, 300), Point(300, 175), Point(300, 50) }, Scalar(255, 0, 0)); fillConvexPoly(image, vector<Point>{ Point(400, 300), Point(305, 255), Point(305, 50) }, Scalar(0, 0, 255)); fillConvexPoly(image, vector<Point>{ Point(205, 300), Point(260, 240), Point(395, 300) }, Scalar(0, 255, 0)); imshow("CMake Trianges!!", image); waitKey(0); return 0;}
Let’s marvel at the fruit of our labor. ? (Making a better CMake logo using OpenCV image manipulation function is left as an exercise to the reader!)
![]()
Given the CMakeLists.txt file and the CMakeTriangles.cpp file, it is very easy to get the compilation running:
cmake -S. -BBuild -A "Win32" cd Build && cmake --build .
Now let us remove the hardcoded values from CMakeLists.txt file
cmake_minimum_required (VERSION 3.8)
project ("CMakeTriangles")
find_package(OpenCV REQUIRED)
# Add source to this project's executable.add_executable (CMakeTriangles "CMakeTriangles.cpp")target_link_libraries (CMakeTriangles ${OpenCV_LIBS})
# TODO: Add tests and install targets if needed.
With this new CMakeLists.txt file, the way to compile the project changes a bit:
cmake -S. -BBuild -A "Win32" -DOpenCV_DIR=<relativepath>/vcpkg/installed/x86-windows/share/opencv -DCMAKE_TOOLCHAIN_FILE=<relativepath> /vcpkg/scripts/buildsystems/vcpkg.cmakecd Build && cmake --build .
Here <relativepath> is relative to installed vcpkg folder. Using this approach you will see that the build folder is populated with all the necessary DLLs to run the program.
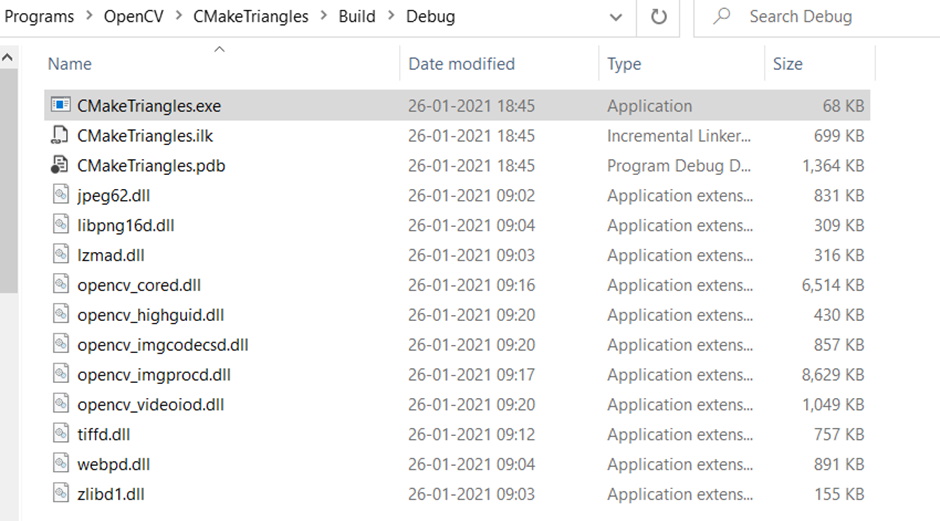
You can now double click on the executable and it should give you the image shown above. What have we achieved? Since vcpkg, CMake and OpenCV are all cross-platform tools, wherever they are supported – be it Windows, Linux, or Mac – we should be able to follow the above steps and get our CMake triangles image compiled and run.
Good, but Did We Add the Tests?
As an architect, I am in favor of adding unit tests as soon as possible in the development cycle. A test-driven approach where tests are added even before writing a single line of code might work for some projects but I am against any fanatism in software development. Let us refactor our monolithic code to make it more amenable to unit testing (Note to reader: It is always a good practice to add test before you refactor). After intense refactoring, our project is now split over CMakeTrianglesLib.cpp, CMakeTriangles.h and CMakeTriangles.cpp. For CMakeTriangles.h we have:
#pragma once
#include <opencv2/core/core.hpp>#include <opencv2/highgui/highgui.hpp>#include <opencv2/imgproc.hpp>#include <iostream>
using namespace cv;using namespace std;#include <iostream>
Mat CreateImageWithBackground(int rows, int cols, int type, Scalar background);
void CreateConvexPolygonsOnImage(Mat image, vector<vector<Point>> points, vector<Scalar> backgrounds);
void DisplayWindowWithTitle(Mat image, string title);
For CMakeTriangleslib.cpp we have:
#include "CMakeTriangles.h"
Mat CreateImageWithBackground(int rows, int cols, int type, Scalar background){ Mat image = Mat::zeros(rows, cols, type); image.setTo(background); return image;}
void CreateConvexPolygonsOnImage(Mat image, vector<vector<Point>> points, vector<Scalar> backgrounds){ if (points.size() != backgrounds.size()) return; // No change in the image
for (auto i = 0UL; i < points.size(); ++i) { fillConvexPoly(image, points[i], backgrounds[i]); }}
void DisplayWindowWithTitle(Mat image, string title){ imshow(title, image);}
For CMakeTriangles.cpp we have:
#include "CMakeTriangles.h"
int main(){ auto image = CreateImageWithBackground(400, 600, CV_8UC3, Scalar(255, 255, 255));
CreateConvexPolygonsOnImage(image, { { Point(200, 300), Point(400, 300), Point(300, 50) }, // Grey inner triangle { Point(200, 300), Point(300, 175), Point(300, 50) }, // Blue left triangle { Point(400, 300), Point(305, 255), Point(305, 50) }, // Red right triangle { Point(205, 300), Point(260, 240), Point(395, 300)} }, // Green lower triangle // Grey, Blue Red Green { Scalar(128, 128, 128), Scalar(255, 0, 0), Scalar(0, 0, 255), Scalar(0, 255, 0) });
DisplayWindowWithTitle(image, "CMake Triangles Refactored!!"); waitKey(0); return 0;}
Our CMakeLists.txt have changed to:
cmake_minimum_required (VERSION 3.8)project ("CMakeTrianglesRefactored")
find_package(OpenCV REQUIRED)
add_library (CMakeTrianglesLib "CMakeTrianglesLib.cpp" "CMakeTriangles.h")target_include_directories(CMakeTrianglesLib PRIVATE ${OpenCV_INCLUDE_DIRS})
add_executable (CMakeTriangles "CMakeTriangles.cpp")
target_link_libraries (CMakeTriangles CMakeTrianglesLib ${OpenCV_LIBS})
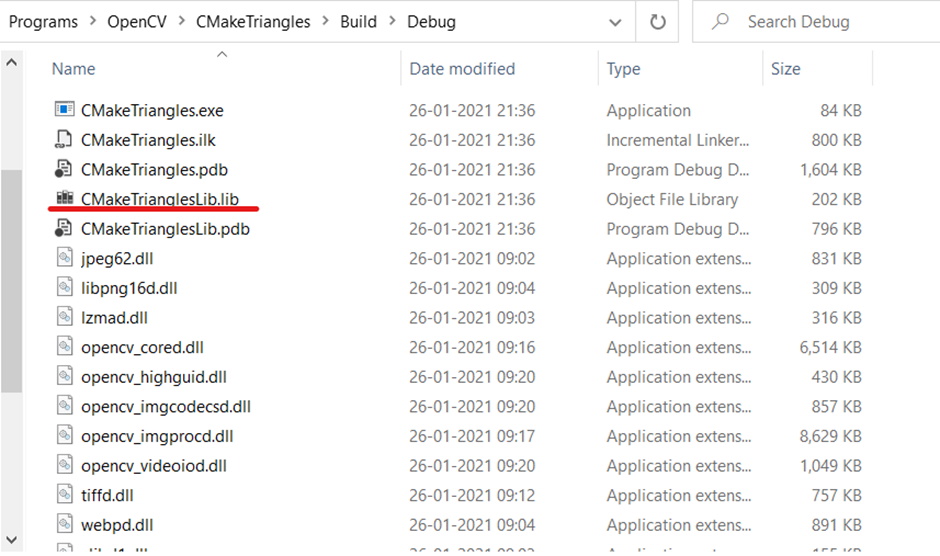
The compilation now produces an extra library file as seen below:
Let us test our library code – which we expect to be extensively used ? – using Google test (GTest). Installing GTest using vcpkg gives the helpful hint:
The package gtest:x86-windows provides CMake targets: find_package(GTest CONFIG REQUIRED) target_link_libraries(main PRIVATE GTest::gmock GTest::gtest GTest::gmock_main GTest::gtest_main)
We are ready to write some test code. Create a file CMakeTrianglesLibTest.cpp and add the following code in it:
#include "gtest/gtest.h"#include "CMakeTriangles.h"
TEST(testCMakeTriangleLib, Given_Rows_Cols_Type_BG_When_CreateImageWithBackground_Call_Then_Return_OK){ const int r = 300; const int c = 600; auto image = CreateImageWithBackground(r, c, CV_8UC3, Scalar(255, 255, 255)); EXPECT_EQ(c, image.cols); EXPECT_EQ(r, image.rows);}
This test code illustrates how OpenCV unit test can be written using GTest tying everything together with CMake. The final CMakeLists.txt is given below:
cmake_minimum_required (VERSION 3.8)project ("CMakeTrianglesRefactored")
find_package(OpenCV REQUIRED)
add_library (CMakeTrianglesLib "CMakeTrianglesLib.cpp" "CMakeTriangles.h")target_include_directories(CMakeTrianglesLib PRIVATE ${OpenCV_INCLUDE_DIRS})
add_executable (CMakeTriangles "CMakeTriangles.cpp")
target_link_libraries (CMakeTriangles CMakeTrianglesLib ${OpenCV_LIBS})
find_package(GTest CONFIG REQUIRED)add_executable(CMakeTrianglesLibTest "CMakeTrianglesLibTest.cpp")target_link_libraries(CMakeTrianglesLibTest PRIVATE CMakeTrianglesLib ${OpenCV_LIBS} GTest::gtest GTest::gtest_main)
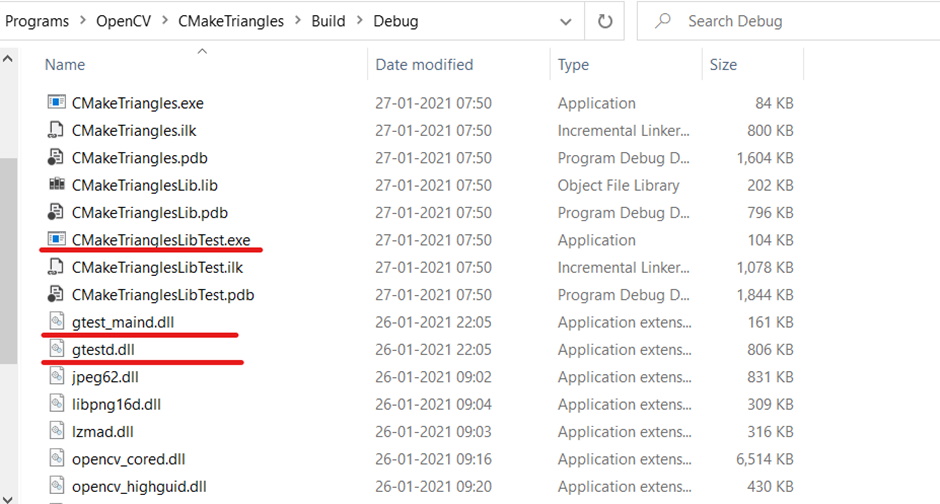
Finally, you can build the full project and get:
You may now execute the tests and get the results:

Conclusion
This has been quite a long post and I hope I could walk you through many aspects of CMake and OpenCV compilation, writing OpenCV unit tests using GTest, and tying everything up using CMake. I am aware of OpenCV ts module, but it is internal to OpenCV and I recommend against patching the source to make it public. Use GTest to test OpenCV and use CMake to make cross-platform builds easier. I wholeheartedly suggest VCPkg as the package manager of choice.
I hope you had as much fun reading this blog post as I had while preparing it!